
How to Clear Snow Off Solar Post Cap Lights Safely (De-Icing Guide)
Apply the 45-degree wipe rule: clear snow off solar post cap lights within 12 hours of snowfall using a soft microfiber cloth or telescoping silicone squeegee at a 45-degree angle. A snow layer as thin as 0.25 inches blocks 100% of sunlight from reaching the top photovoltaic (PV) panel, preventing the internal 1000mAh Ni-MH battery from receiving its required 6 to 8 hours of direct solar charge. Never use metal scrapers, chemical salt de-icers, or water warmer than 80°F, as extreme thermal shock shatters cold ABS/PC plastic housings and ruins IP44 weather seals.
Key Takeaways for Winter Solar Cap Maintenance
Keep these numerical rules in mind when caring for your outdoor post lighting during freezing weather:
Essential Snow & Ice Clearance Inspection Checklist

Photo by Karl Forterre on Pexels
- Inspect post cap lights from ground level before attempting clearance to identify powder snow vs. solid ice crusts.
- Use a soft-bristle foam snow rake or microfiber cloth attached to an extendable pole for elevated 4x4 or 5x5 deck caps.
- Gently brush loose snow off the top PV collector lens moving from front to back in a single light stroke.
- For thin frost, apply a warm microfiber cloth (70°F–80°F maximum); never pour hot or boiling water over sub-freezing plastic.
- Verify a clear light path around the 360-degree viewing angle housing window to maintain full 15-lumen visibility.
- Check that the IP44 multi-base perimeter (3.5" to 5.5") is clear of packed ice dams that prevent meltwater drainage.
Printable Winter Care & De-Icing Cheat Sheet
- 0.25 Inches = Complete Light Blockage: Clear PV lenses immediately after storms to maintain battery charge.
- Safe Clearance Tools: Microfiber cloths, soft silicone squeegees, telescoping foam snow rakes.
- Strictly Prohibited Items: Metal windshield scrapers, rock salt (calcium chloride), boiling water (>120°F), high-pressure hoses.
- Thermal Limit: Maximum water temperature for ice compresses is 80°F to prevent thermal shock cracking on cold plastic.
- Battery Preservation Threshold: If ambient temperatures drop below -4°F for extended periods, store battery tops indoors.
Expert Tip: Safe Thermal & Mechanical Clearance Hacks
When dealing with stubborn glaze ice created by freezing rain, mechanical scraping risks gouging the delicate poly-crystalline surface of your solar collector. Instead of forcing a blade across the panel, create a tepid microfiber compress.
Soak a clean microfiber towel in lukewarm tap water (70°F to 80°F), wring out excess moisture so it does not drip and re-freeze, and press it gently against the iced top lens for 15 to 30 seconds. The mild thermal transfer thaws the ice-to-plastic bond instantly, allowing the ice sheet to slide off effortlessly without flexing the 5.8 x 5.8 x 3.54-inch plastic housing or straining internal battery connections.
> Upgrade Notice: If severe winter storms have cracked your existing post caps or reduced their nighttime runtime, consider upgrading to our 6-Pack Waterproof IP44 15-Lumen Solar Post Cap Lights. Equipped with 8 warm white SMD LEDs, multi-fit bases for 3.5" to 5.5" posts, and high-capacity 1000mAh Ni-MH batteries, they are built to withstand tough US winter climates. Explore our complete lineup at solarpostcaplights.com.
Winter Solar Light Performance Troubleshooting
| Symptom | Root Cause | Immediate Action | Prevention |
| --- | --- | --- | --- |
| Light turns off after 1–2 hours of operation | PV panel covered in snow or low winter sun angle prevented full 6–8 hr charge | Clear top lens completely; tilt cap toward south if adjustable or prune overhanging snowy branches | Perform weekly snow brush-offs and verify top lens is free of pollen/dirt film before winter |
| Dim output (significantly below 15 lumens) | Ni-MH battery efficiency reduced by extreme cold (below 32°F) | Remove battery top and bring indoors at 70°F for 24 hours to recondition cells | Ensure panel receives unshaded midday sunlight during peak winter hours (10 AM - 2 PM) |
| Moisture or frost visible inside the 360° lens housing | Freeze-thaw cycle compromised IP44 seal or trapped condensation inside cap | Bring housing indoors, wipe internal chamber dry, and inspect rubber gasket seal for alignment | Apply a thin layer of silicone grease to the base gasket perimeter during autumn installation |
| Light fails to turn on at dusk despite clear panel | Automatic daylight sensor blocked by residual ice crust or battery contacts oxidized | Clean entire top surface with warm damp cloth; inspect battery compartment for white corrosion | Scrape battery contacts with pencil eraser and coat with dielectric grease annually |
Diagnose and resolve common winter operational issues affecting your solar fence post caps.
Seasonal Winter Solar Maintenance Cadence
- Late Autumn (Pre-Winter Prep) — Clean top PV lenses with mild dish soap; inspect IP44 seals on all 6 post caps; ensure 1000mAh Ni-MH AA batteries hold a full charge.
- Within 2–12 Hours Post-Snowfall — Brush off fresh powder using a soft foam snow rake or microfiber pole before sunlight hours end.
- Mid-Winter (January / February) — Check base fitters (3.5" to 5.5") for ice damming; wipe top lenses to remove road salt atmospheric haze.
- Early Spring (Post-Thaw) — Remove top covers, dry out minor condensation, test 8 SMD LEDs, and apply a fresh UV-protective spray to plastic housings.
Mid-Guide Action Steps & Winter Care Transition
Your decision: Determine if your solar post cap lights are experiencing temporary snow coverage or deep winter battery capacity loss.
Do this next: Equip your winter kit with a telescoping microfiber pole and soft foam rake to clear elevated post caps immediately after storms without climbing ladders.
Related resource: Refer to your product manual for battery compartment access guidelines before servicing cold weather units.
Check your post dimensions (fits 3.5x3.5 up to 5.5x5.5 inch posts) and ensure your IP44 weather seals are fully seated before heavy freezing precipitation hits.
Side-by-Side: Safe vs. Destructive Clearance Methods
| Clearance Tool / Agent | Scratch Risk (1-10) | Risk to IP44 Seals | PV Transparency Impact | Recommendation |
| --- | --- | --- | --- | --- |
| Microfiber Cloth / Foam Rake | 1 (Safe) | None | 0% Loss (Preserves 100% Light Flow) | Highly Recommended for all snow types |
| Rubber Squeegee (Silicone Edge) | 2 (Safe) | None | 0% Loss | Ideal for slush and wet heavy snow |
| Tepid Water Cloth Compress (70°F-80°F) | 1 (Safe) | Low | 0% Loss | Best method for stubborn glaze ice |
| Plastic Windshield Scraper | 7 (High Risk) | Moderate | 15% to 25% Permanent Haze | Avoid; scratches soft PV poly-coatings |
| Metal Blade / Ice Pick | 10 (Severe) | High (Cracks Casing) | Up to 50% Panel Destruction | Strictly Prohibited |
| Rock Salt / Calcium Chloride | 8 (Corrosive) | Severe (Erodes Rubber) | Chemical Film Buildup | Strictly Prohibited; voids warranty |
| Boiling Water (>120°F) | 0 (N/A) | Catastrophic (Thermal Shock) | Cracks Plastic Casing Instantly | Strictly Prohibited |
Comparing common snow and ice removal tools across material damage risk, transparency impact, and seal preservation.
Recommended Equipment & All-Weather Fixtures
For reliable outdoor deck and fence lighting during extreme winter conditions, choose fixtures engineered specifically for weather resistance and multi-post compatibility.
Decision Support: When to Clear vs. When to Protect or Remove
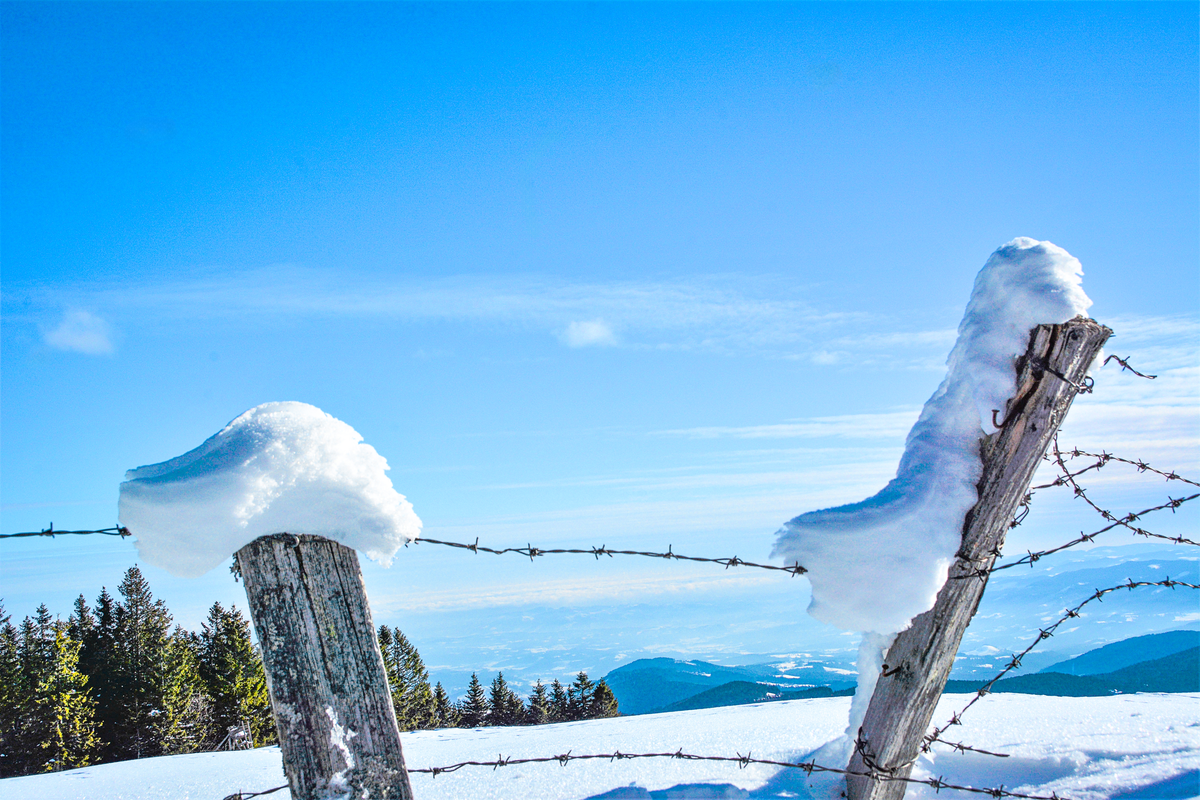
Photo by Karlheinz Strohmaier on Pexels
Tailor your maintenance approach according to snowfall depth and freezing temperatures to protect your post caps.
Best choice for
- Soft Bristle Telescoping Foam Rake — Quickly sweeps away loose snow from ground level without touching delicate PV top glass or scratching plastic.
- Tepid Water Cloth Micro-Compress (70°F) — Safely thaws ice bonding without thermal shock that cracks cold plastic or breaks IP44 rubber seals.
- Temporary Indoor Battery Storage — Protects 1000mAh Ni-MH chemistry from extreme cold discharge degradation while preserving fixture housing.
- Avoid using metal ice chisels, credit cards, or key edges on top solar lenses.
- Avoid pouring warm liquids above 90°F onto post cap lights sitting in sub-freezing ambient air.
- Avoid spraying commercial de-icer aerosol sprays containing acetone or petroleum solvents near plastic bases.
- Hydrophobic Solar Panel Spray — Reduces snow and frost adherence by up to 70%, allowing winter sun warmth to naturally melt thin accumulation.
Material & Environmental Compatibility Spec Matrix
| Component | Material Spec | Operating Temp Range | Cold Weather Vulnerability | Maintenance Action |
| --- | --- | --- | --- | --- |
| Solar Panel Top Lens | Laminated PET / Poly-crystalline PV | -10°F to 140°F | Surface scratches from hard tools reduce solar charging efficiency | Wipe with microfiber cloth only; no abrasive pads |
| Light Body Housing | High-Impact ABS / PC Plastic (5.8x5.8x3.54") | -20°F to 130°F | Brittle below 0°F; susceptible to thermal shock cracking above 120°F delta | Never pour boiling water over housing; handle gently |
| Weatherproofing Seal | IP44 Synthetic Rubber / Silicone Gasket | -30°F to 160°F | Contraction in severe cold can allow meltwater ingress if misaligned | Check seal seating prior to winter freeze season |
| Rechargeable Battery | 1.2V 1000mAh Ni-MH AA Cell | -4°F to 122°F | Temporary discharge capacity drop of 20-40% in sub-freezing temps | Recharge indoors at 70°F if runtime drops significantly |
| Light Engine | 8 Warm White SMD LEDs (15 Lumens) | -40°F to 150°F | Highly resilient; performance unaffected by cold | Keep 360-degree viewing angle clear of snow crust |
Technical specifications governing the cold-weather performance limits of modern plastic solar post cap lights.
5 Critical Mistakes That Void Warranties & Destroy Solar Caps
Avoid these common winter maintenance errors that frequently cause permanent plastic breakage, water intrusion, or ruined solar panels:
Post-Storm Solar Recovery Timeline
- 0 to 2 Hours After Snowfall Stops — Perform ground-level visual inspection; identify whether snow accumulation is soft powder or wet slush.
- 2 to 12 Hours Post-Storm (Daylight Hours) — Gently clear top PV lenses using a soft brush or microfiber telescoping pole to allow peak midday charging.
- 12 to 24 Hours Post-Storm — Inspect nighttime output. Verify that all 8 SMD LEDs illuminate brightly at 15 lumens across the 360-degree viewing angle.
- 48 Hours Post-Storm — Check base perimeters for refrozen meltwater dams; clear ice buildup around post mounts to preserve IP44 weather seals.
Frequently Asked Questions About Winter Solar Cap Care
Get expert answers to the most common winter maintenance and battery questions for solar fence post lights.
Related Winterizing Guides & Resources
- Solar Post Cap Lights FAQ: Compatibility, Charging, and Weathering
- Will Wind Blow Solar Post Cap Lights Off? How to Keep Them Secured
- Choosing and Installing Solar Post Cap Lights
Final Next Steps & Action Plan
Your decision: Take action today to protect your outdoor lighting investment before the next winter storm rolls in.
Do this next: Inspect your solar post cap lights after every storm, clear top PV lenses with non-abrasive tools, and ensure battery tops receive 6 to 8 hours of unshaded winter sunlight.
Related resource: Download our seasonal outdoor lighting maintenance reminders to keep your deck and yard bright year-round.
If winter weather has compromised your existing post caps, upgrade to our 6-Pack All-Weather IP44 15-Lumen Solar Post Cap Lights engineered with multi-fit bases for standard wood, vinyl, and plastic posts.
Cover photo by Karl Forterre on Pexels.