
How to Install Multi-Base Solar Post Caps on Weathered or Irregular Wood Posts
To fit multi-base solar post cap lights onto irregular or weathered wood posts, level cupped top surfaces using a block plane, or shave down swollen corners with a hand rasp. For undersized posts, insert non-rotting composite shims inside the multi-base adapter. Always apply an exterior end-grain sealer to raw wood and pre-drill pilot holes using a 1/8-inch bit before mounting.
Pre-Installation Tool & Material Checklist
- Digital caliper or tape measure for multi-point post measuring
- Hand rasp or wood block plane for removing high spots on swollen posts
- Non-rotting PVC or composite shims (avoid wood shims)
- Exterior end-grain wood sealer or copper naphthenate
- Power drill with 1/8-inch drill bit for pre-drilling pilot holes
- Stainless steel mounting screws (included with 6-pack lights)
- Microfiber cloth and isopropyl alcohol for wiping solar panels post-sanding
- Multi-base adapter inserts (compatible with 3.5", 4", 4.5", 5", and 5.5" posts)
Step-by-Step Guide: Preparing Irregular Posts and Mounting Multi-Base Solar Caps

Photo by Erik Mclean on Pexels
Follow these five steps to adapt swollen, shrunk, or warped post tops so your multi-base solar post cap lights fit flush, level, and securely sealed against weather.
Pro Tip: Preventing Moisture Traps Under Multi-Base Adapters
While quality solar post cap lights feature an IP44 waterproof rating to seal internal electronics from rain, sleet, and snow, trapped moisture beneath a plastic adapter can accelerate wood rot on aging posts. Always maintain a 1/16-inch ventilation clearance between the bottom rim of the plastic housing and any horizontal wood ledge. This micro-gap allows trapped condensation to evaporate while preventing standing water from wicked upwards into the post end-grain.
Troubleshooting Weathered Post Fitting Issues
Use this diagnostic guide to resolve common field fitment issues encountered when installing solar caps on aged or irregular lumber.
Key Installation Takeaways
Essential practices for long-lasting solar cap installation on non-standard wood posts:
Weathered Wood Conditions vs. Adjustment Methods
Compare the four primary weathered wood post defects and their corresponding corrective techniques.
Choosing Between Planing, Shimming, or Adapter Swapping
When installing solar post caps on weathered lumber, choose mechanical planing for swollen tops, synthetic shimming for loose/shrunk posts, and end-grain sealing for split or checked posts.
Best choice for
- Hand Rasping / Planing — Shaving 1/16 inch of surface wood allows the multi-base adapter to slide smoothly without cracking plastic.
- Composite Shimming — Synthetic shims fill clearance gaps securely without rotting or absorbing moisture over time.
- Multi-Base Adapter Insertion — Utilizes built-in sizing rings to match true 3.5", 4", 4.5", 5", or 5.5" post profiles.
- Avoid forcing multi-base adapters over swollen wood corners using a mallet, as this fractures the plastic housing.
- Avoid using wood shims outdoors; organic shims absorb trapped moisture and rot rapidly.
- Vinyl Sleeve Retrofitting — Encasing severely degraded wood posts in vinyl sleeves provides a uniform, square surface for cap mounting.
Recommended Multi-Base Solar Post Cap Lights
Upgrade your outdoor security and landscape lighting with these versatile, weather-resistant solar post caps engineered for multi-size post compatibility.
Multi-Base Adapter Compatibility & Dimension Matrix
Review the technical dimensions and post fitment specifications for multi-base solar post cap lights.
Diagram Brief: Cross-Section of Weathered Post Preparation & Cap Mounting
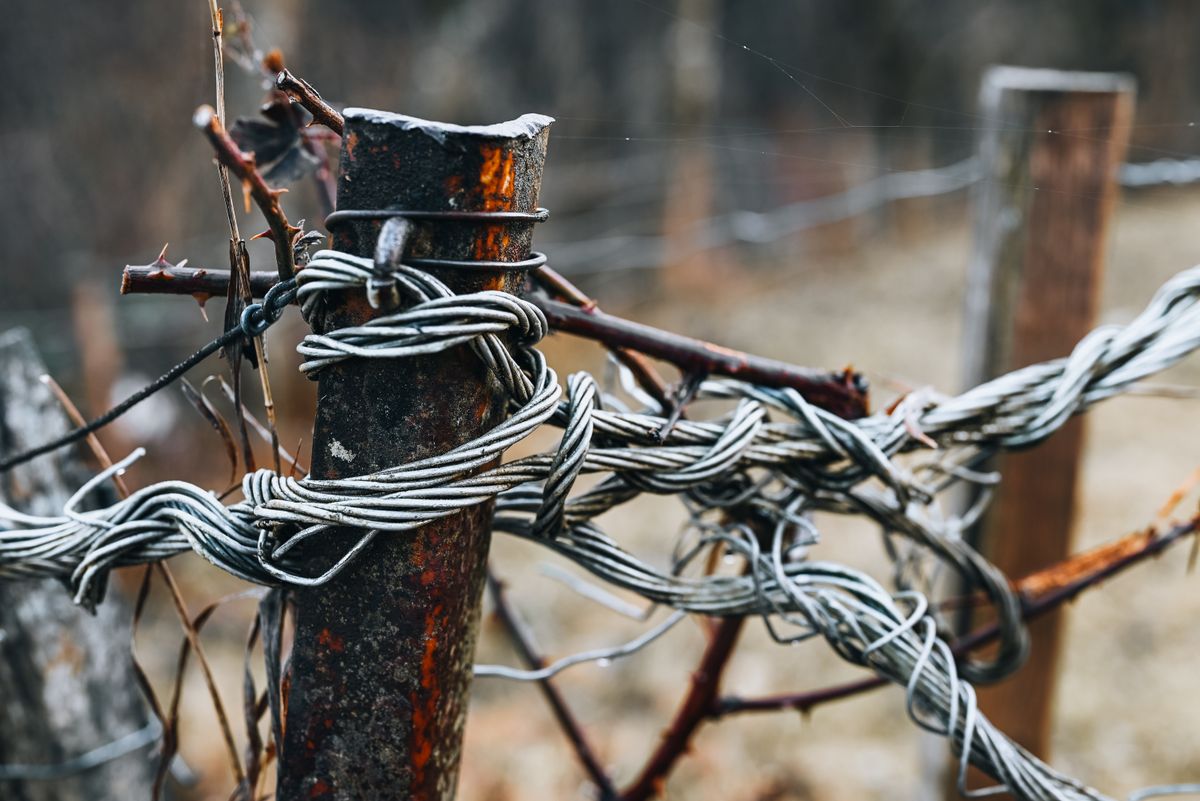
Photo by Matej Bizjak on Pexels
This schematic illustrates proper multi-base adapter seating, shim placement, end-grain sealing barrier, and fastener pilot angles on weathered wood.
Critical Errors to Avoid When Mounting Solar Caps on Aged Wood
Steer clear of these four installation pitfalls that lead to cracked light housings, premature post decay, or loose fixtures.
Installation & Curing Timeline
- Phase 1: 0 to 15 Minutes — Inspect post tops, measure cross-sections, and select matching multi-base adapter inserts.
- Phase 2: 15 to 30 Minutes — Rasp swollen corners, plane cupped surfaces flat, and apply exterior end-grain sealer.
- Phase 3: 30 to 60 Minutes — Allow end-grain wood sealer to dry completely in direct sunlight.
- Phase 4: 60 to 75 Minutes — Insert composite shims if required, pre-drill 1/8-inch pilot holes, and screw caps in place.
- Phase 5: First 6 to 8 Hours — Allow solar panels to charge in full direct sunlight before initial dusk illumination.
Frequently Asked Questions
Get expert answers to common questions about fitting multi-base solar post caps on weathered or irregular posts.
Next Steps & Long-Term Outdoor Care
Your decision: Determine whether your weathered post tops require hand-planing high spots or inserting synthetic composite shims into the multi-base adapter.
Do this next: Measure your post cross-sections across all four faces, acquire exterior end-grain sealer and composite shims, and follow the pre-drilled mounting protocol.
- Read next: How to Measure Fence & Deck Posts for Solar Caps: Step-by-Step Buying Guide
- Read next: Troubleshooting Loose Solar Post Caps: Fixing Corner Radius Issues
Upgrade your fence or deck with our 6-Pack Multi-Base Solar Post Cap Lights (15 Lumens, IP44 Waterproof, fits 3.5" up to 5.5" posts) at SolarPostCapLights.com.
Take action today to enhance your outdoor landscape lighting and protect your deck or fence investment.