How to Protect Fence Post Tops From Moisture and Rot
Wood fence posts rot from the top and from the ground line, and the top is the half most owners never treat. End grain acts like a bundle of straws pointed at the sky, so rain soaks straight down into the post rather than running off. Capping the top so water sheds instead of standing is one of the cheapest things you can do for a fence, and a post-top light with a base that covers the end grain does that job while also doing something visible.
Why post tops rot before the rest of the fence
Wood absorbs water far faster through end grain than through the sides. The cell structure runs along the length of the post, so a cut end exposes thousands of open channels while the faces present closed cell walls. A bare post top after a rainstorm is wet several inches down; the faces are barely damp.
That water then sits inside the top of the post where sun and wind cannot reach it quickly. Wood-decaying fungi need moisture above roughly the fiber saturation point to become active, and a post top that stays wet for days at a time provides it. The visible sequence is familiar to anyone with an older fence: the top grays, then a check or split opens along the grain, then the split widens and holds water directly, then the top few inches go soft and crumble.
Splits accelerate everything. Once a crack runs down into the post, rain no longer has to soak through end grain — it pours straight in. This is why an untreated post top can fail while the same post is sound a foot lower.
What pressure treatment does and does not cover
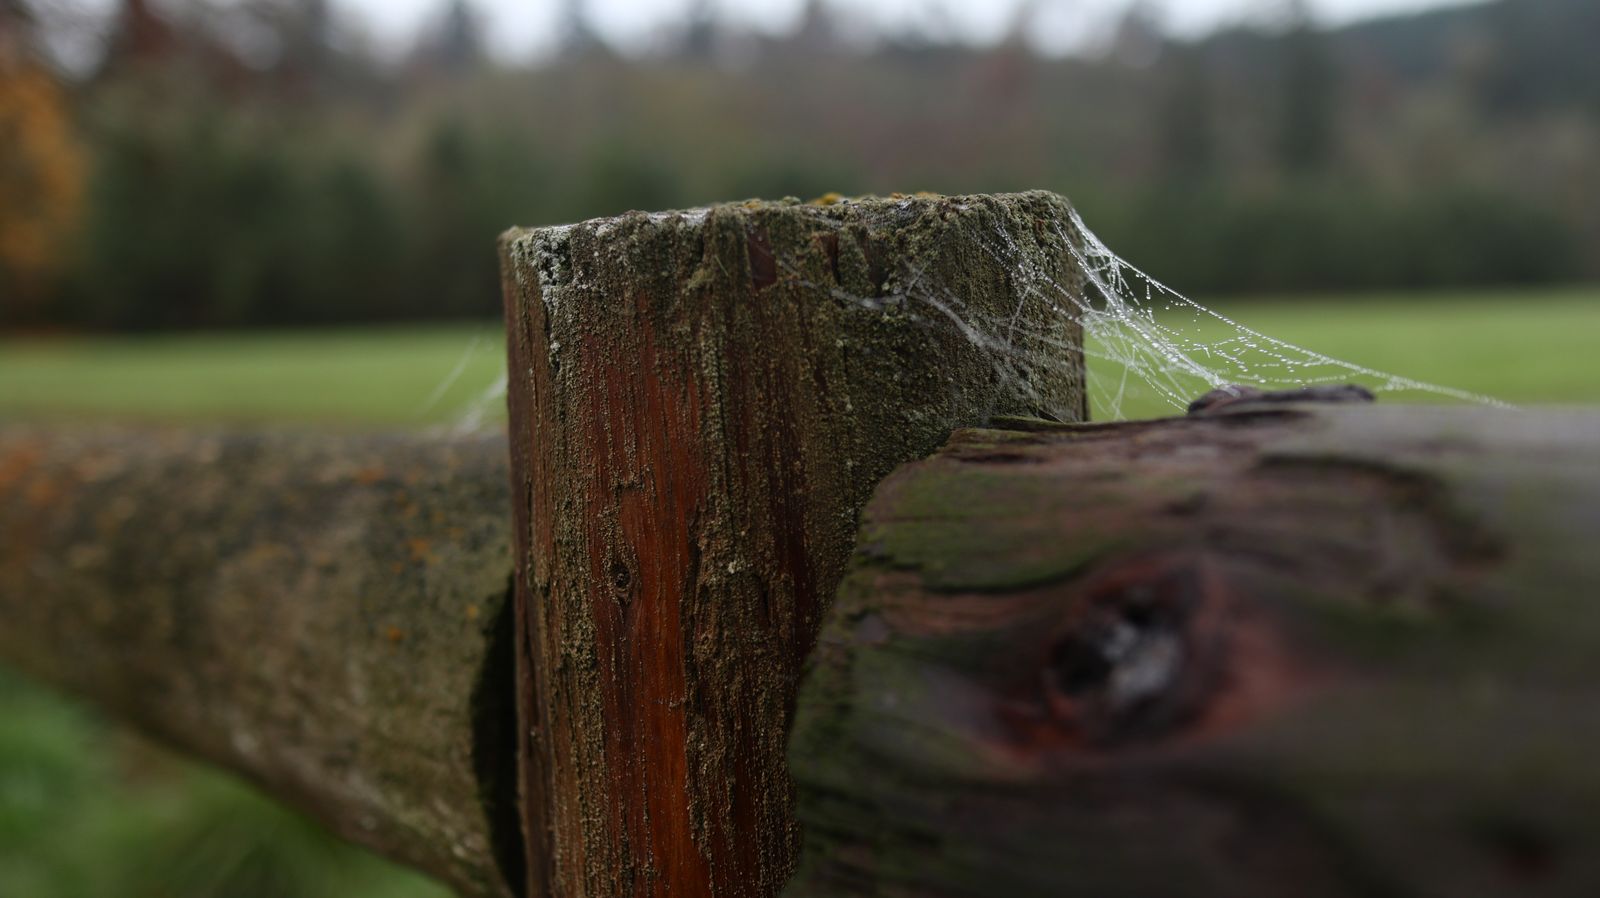
Photo by Manda Walker on Pexels
Pressure-treated lumber resists decay because preservative has been forced into the wood, but the protection is not uniform and it is not permanent.
Two limits matter here. The first is that treatment penetration is deepest at the surfaces and shallower toward the core, and every cut you make exposes wood that received less treatment. When a post is trimmed to height on site — which nearly all of them are — the new cut end is the least protected surface on the whole post, and it is pointed at the sky. This is why field-cut ends are supposed to be treated with a preservative before the post goes in, and why so often they are not.
The second limit is that treatment addresses fungal decay and insects, not water. A treated post that stays saturated will still check, split, cup, and generally degrade physically even if it resists rot longer than untreated wood. Keeping water off is a separate job from keeping fungus out.
The three things that keep a post top sound
- Shed water instead of holding it. Anything that keeps standing water off the end grain, whether a cap, a bevel, or a light body, cuts absorption sharply.
- Seal the end grain. A finish or preservative applied generously to the cut top slows absorption, though it needs renewing.
- Let it dry. Air movement matters. A top that gets wet but dries within a day is far better off than one that stays damp under trapped debris.
How a post cap light contributes
Solar Post Cap Lights sit on the post top with a base that covers the end grain, so the primary rain path into the post is interrupted. The light body measures 5.8 x 5.8 x 3.54 inches and the pack includes different sizes of bases, listed as compatible with any standard true size of 3.5" x 3.5", 4" x 4", 4.5" x 4.5", 5" x 5", and 5.5" x 5.5" wood, vinyl, or plastic post cap — so the cover extends past the post top rather than sitting flush inside it, which is what makes water run off the outside instead of into the joint.
Two points of realism. First, a cap is a rain shield, not a sealed roof, and driven rain and condensation will still reach the top occasionally. That is fine, provided the wood can dry. Second, the light's own weather rating — IP44, described by the manufacturer as suitable for outdoor use in rain, snow, frost, or sleet — is about the light, not the post. The rot protection comes from the geometry of a cover that sheds water, which is why our article on what "waterproof" actually means for fence caps is worth reading alongside this one.
Preparing a post top before you cap it
Photo by Matej Bizjak on Pexels
Doing this properly is a twenty-minute job per fence and it roughly doubles the value of capping.
Vinyl and composite posts: a different failure mode
Vinyl and composite posts do not rot, but a hollow vinyl sleeve with an open top is a water collector. Rain enters the top, runs down inside the sleeve, and pools at the bottom or on whatever is inside it.
That matters for two reasons. Many vinyl fence posts are sleeves over a wood or steel core, and water running down inside reaches that core where nothing is treated and nothing dries. And a sleeve with water standing in the bottom will crack if that water freezes.
Capping a vinyl post is therefore about closing the tube, not about protecting wood. It is arguably more important on vinyl than on solid wood, because the damage happens out of sight. Our guide to solar cap lights on vinyl fencing covers the fastening differences on a hollow post.
| Post type | Main top-related risk | What a cap accomplishes | |---|---|---| | Untreated wood | Rapid end-grain rot and splitting | Large reduction in water entering the top | | Treated wood, factory end | Slower decay, still checks and splits | Reduces physical weathering | | Treated wood, field-cut end | Least protected surface, facing up | The most valuable place to cap | | Hollow vinyl sleeve | Water pooling inside; freeze damage | Closes the open top | | Composite post | Varies; usually water in cavities | Keeps the cavity dry |
FAQ
Will capping the posts stop rot completely? No. Fence posts also rot at the ground line, where soil holds moisture against the wood continuously, and that is a separate problem addressed at installation with drainage and correct setting depth. Capping addresses one of the two main entry points, and it is the one you can fix on a fence that is already built.
Do I need to seal the top if I am fitting a light over it anyway? It is worth doing, especially on a field-cut end. The cap sheds most rain, but sealed end grain absorbs far less of whatever does get through, and the two measures together are much better than either alone.
My post tops are already soft. Is capping worth it? Check how far the softness goes first. If it is limited to the top inch or two, cutting the post down to sound wood and capping the fresh cut is a genuine repair. If a screwdriver sinks several inches, that post needs replacing and capping it only hides the problem.
Does a cap trap moisture and make things worse? Only if it seals the top airtight against the wood. A cap that overhangs and sheds water from its edges, with the joint above ground and open to air, lets the top dry between wettings. That is the difference between a cap and a wrap.
The practical next step
Take a screwdriver down the fence line and press it into the top of every post. You will get one of three answers on each — sound, soft at the surface, or soft several inches down — and that tells you which posts to simply cap, which to trim back and cap, and which need real work before anything goes on top.
Cover photo by Tomás Asurmendi on Pexels.