Snow Load and Ice on Flat Solar Post Caps: What Actually Causes Damage
The weight of snow is not what damages a flat solar post cap. A cap measuring 5.8 by 5.8 inches presents a tiny surface, so even a deep fall of wet snow puts only a few ounces on the lid. What actually causes damage over a winter is ice bonding to the lens and then being pried off, meltwater refreezing in the seam, roof drip landing on the same spot for weeks, and contact from a shovel or snowblower.
Why load is the wrong thing to worry about
Run the numbers on a cap footprint and the concern disappears. The lid is under a quarter of a square foot. Even a foot of dense wet snow across that area is a load a plastic housing seated on a timber post handles without stress. Posts do not bend and caps do not crush under snow at that scale.
The rating that matters here is IP44, which covers outdoor use in rain, snow, frost and sleet. That is a weather rating, and snow sitting on a cap is exactly the condition it describes. The unit is not in trouble because it is buried. It is in trouble when the snow turns into a bonded ice layer or when a human being with a tool arrives.
The four things that genuinely break caps in winter
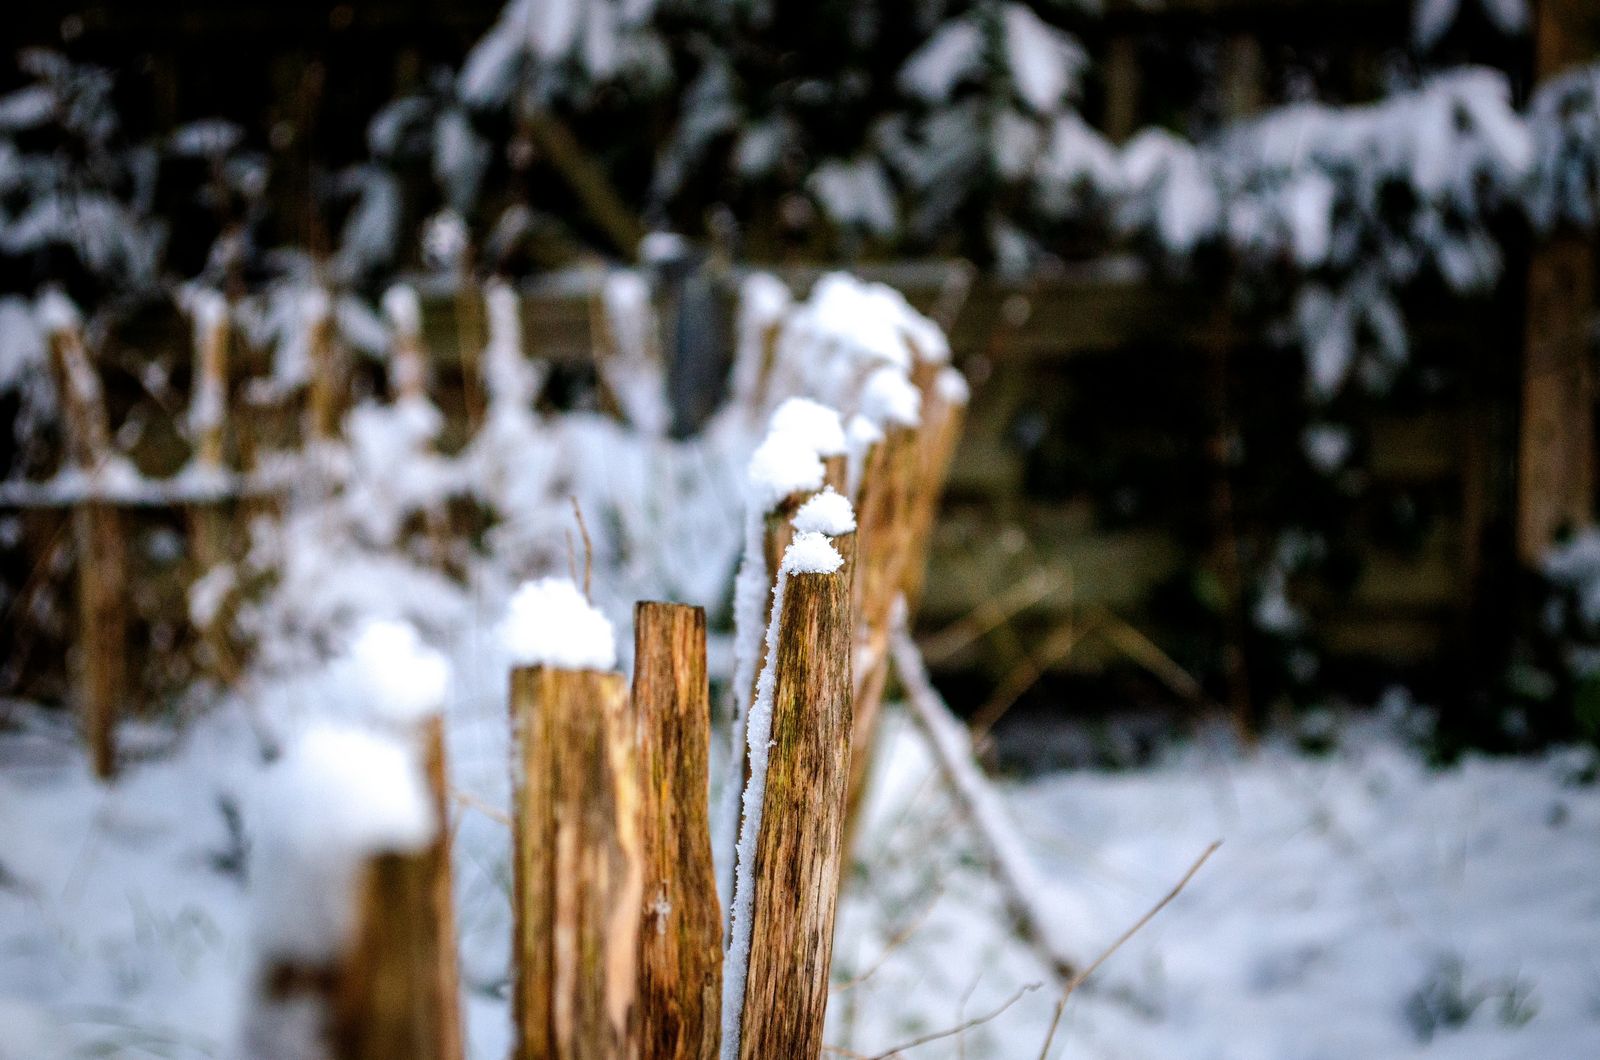
Photo by Kittie Starlet on Pexels
- Ice bonded to the lens, then removed by force. A thaw followed by a hard freeze leaves a clear ice shell fused to the lid. Chipping or scraping that off is the most common way a lens gets scratched or a housing gets cracked.
- Meltwater refreezing in the seam. Water works into the joint between lid and body during the day and expands when it freezes overnight. Repeated cycles can lift a lid slightly or loosen a base that was already a loose fit, which is how water eventually reaches the contacts.
- Roof drip and icicle fall. A cap under an eave or gutter line takes concentrated meltwater in the same spot for the whole season, and it can take a direct hit from falling ice. A single icicle off a two-story gutter carries far more energy than any snow load.
- Tool strikes. Shovels, snowblower chutes, roof rakes and ice scrapers all get swung near fence and deck posts. A cap sitting at hip height beside a path is directly in the working zone.
Risk table for a winter fence line
| Risk | Why it happens | What to do | |---|---|---| | Ice shell fused to the lid | Melt during the day, hard freeze at night | Let it melt, or warm it with a gloved hand. Never chip or scrape | | Water in the lid seam | Freeze and thaw cycles drive meltwater into the joint | Check the lid seats fully in autumn and reseat any loose cap | | Roof drip on one cap | The post sits under an eave, gutter or valley | Move that cap to a post clear of the drip line | | Falling icicles | Gutters above a fence or deck rail | Keep caps off posts directly beneath a gutter run | | Shovel and snowblower contact | Posts beside a cleared path or driveway | Lift the caps off those posts for the season, or clear by hand nearby | | Snow sliding off a rail or roof | A sheet of snow releases and sweeps the post top | Knock heavy accumulation off adjacent rails before it consolidates | | De-icing salt spray | Road or path salt lands on the panel and plastic | Rinse those lids with plain water during a thaw |
How to clear a snow-covered cap without damaging it
Salt, grit and the panel surface
De-icing salt is an underrated winter problem on any cap near a driveway or public path. Salt spray dries to a haze on a panel, and that haze reduces charging on exactly the days when daylight is already short. It is also mildly aggressive to metal contacts if it works its way inside a housing.
The fix is simple and worth doing during any thaw: rinse the lid with plain water and wipe it dry. Do not aim a hose at the housing seam. An IP44 rating handles falling weather, not a directed jet. The wider explanation of what these ratings do and do not promise is set out in the piece on why waterproof fence caps fail.
The autumn check that prevents most winter damage
Almost everything above is cheaper to prevent in October than to repair in February. Walk the line before the first freeze and do four things. Confirm every lid is fully seated and every base sits flush on its post, since a loose fit is what lets freeze and thaw drive water inside. Clean the panels while they are still easy to clean. Identify any cap under a gutter, an eave or a roof valley and relocate it to a clear post. Note which posts stand beside the paths you shovel, and decide now whether those caps come off for the season.
That last decision is worth making deliberately rather than by accident. A cap on a post beside a cleared walkway is genuinely useful in winter, and it is also the one most likely to be hit. If the post is in the swing of a shovel, take the cap off. If it is a step back from the working line, leave it and enjoy the light.
Ice, damp and the inside of the housing
The damage path that ends in a dead cap almost always starts with water reaching the battery contacts. A 1000mAh Ni-MH AA cell sits inside on sprung metal terminals, and corrosion there produces a light that simply never comes on again. Freeze and thaw is what opens the route, and standing damp is what does the corroding. That is why seating and drainage matter more in winter than any concern about weight on the lid. The same mechanism drives failures in wet climates generally, covered in the notes on how long these lights last in high humidity, and the build considerations behind it are discussed in the commitment to quality on these caps.
FAQ
Can heavy snow crack the top of a cap? Very unlikely from weight alone. The lid area is small enough that snow load stays trivial. Cracks in winter usually come from someone chipping ice off the lens or from falling ice off a gutter above.
Should I knock snow off every morning? Only if you want the light back that evening, and only with a gloved hand or soft brush. Snow left to melt on its own causes no damage at all, and rough clearing every day causes more harm across a season than a few dark nights.
Is it safe to leave caps out through a freeze? Yes. The IP44 rating covers rain, snow, frost and sleet. The things to check before the freeze are that lids are seated properly and that no cap sits under a gutter drip.
What about caps on posts next to the driveway I plow? Those are the highest-risk units on the property. A snowblower chute or a shovel edge will find them eventually. Take them off for the season or clear that stretch by hand.
What to do next
Walk the line before the first hard freeze, seat every lid firmly, clean the panels, and move any cap that sits under a gutter or beside the path you shovel. Those four checks handle nearly every way winter actually damages a flat post cap.
Cover photo by Krzysztof Jaworski Fotografia Toruń on Pexels.